
Why Homebrew?
Since DSM does not have a package system with a broad catalog, I needed to find one to install some packages like salt, nvim, or ripgrep, among others.
At first, I added the SynoCommunity repository to DSM’s standard package manager, but many of the packages I was interested in were not available there. So, I had to keep looking for another package manager.
As a macOS user, I manage all my daily-use packages with Homebrew. So, it seemed like the natural choice, given that I know how to use it, what packages are available, and their names.
Prerequisites
Before installing Homebrew, DSM needs to be prepared.
Homebrew doesn’t have many requirements, but to install it, the ldd utility and git are needed. Additionally, to take advantage of precompiled formulas, Homebrew must be installed in the /home/linuxbrew/.linuxbrew directory.
All of these requirements can be met with minimal effort.
Home Directory
The first requirement is having the /home directory. The easiest way to achieve this is by creating a bind mount from the /volume1/homes directory to /home.
I offer you two methods to create this mount — neither is better than the other. So, choose the one that feels most convenient for you.
Systemd Service
We can create the mount using a systemd service.
To do this, we create the /etc/systemd/system/home.mount file with the following content:
sudo install -m 755 /dev/stdin /etc/systemd/system/home.mount <<EOF
[Unit]
DefaultDependencies=no
Requisite=local-fs.target pkg-volume.target
After=local-fs.target pkg-volume.target

[Mount]
What=/volume1/homes
Where=/home
Type=none
Options=bind

[Install]
WantedBy=pkg-volume.target
EOF
To mount the volume, enter the following commands:
sudo mkdir -m 755 /home            # Create /home directory
sudo systemctl daemon-reload       # Reload systemd services
sudo systemctl enable home.mount   # Enable the service to be mounted on startup
sudo systemctl start home.mount    # Mount the /home volume
Warning
This service could be removed after a DSM update, so take this into account if you choose this method before installing an update.
Scheduled Task
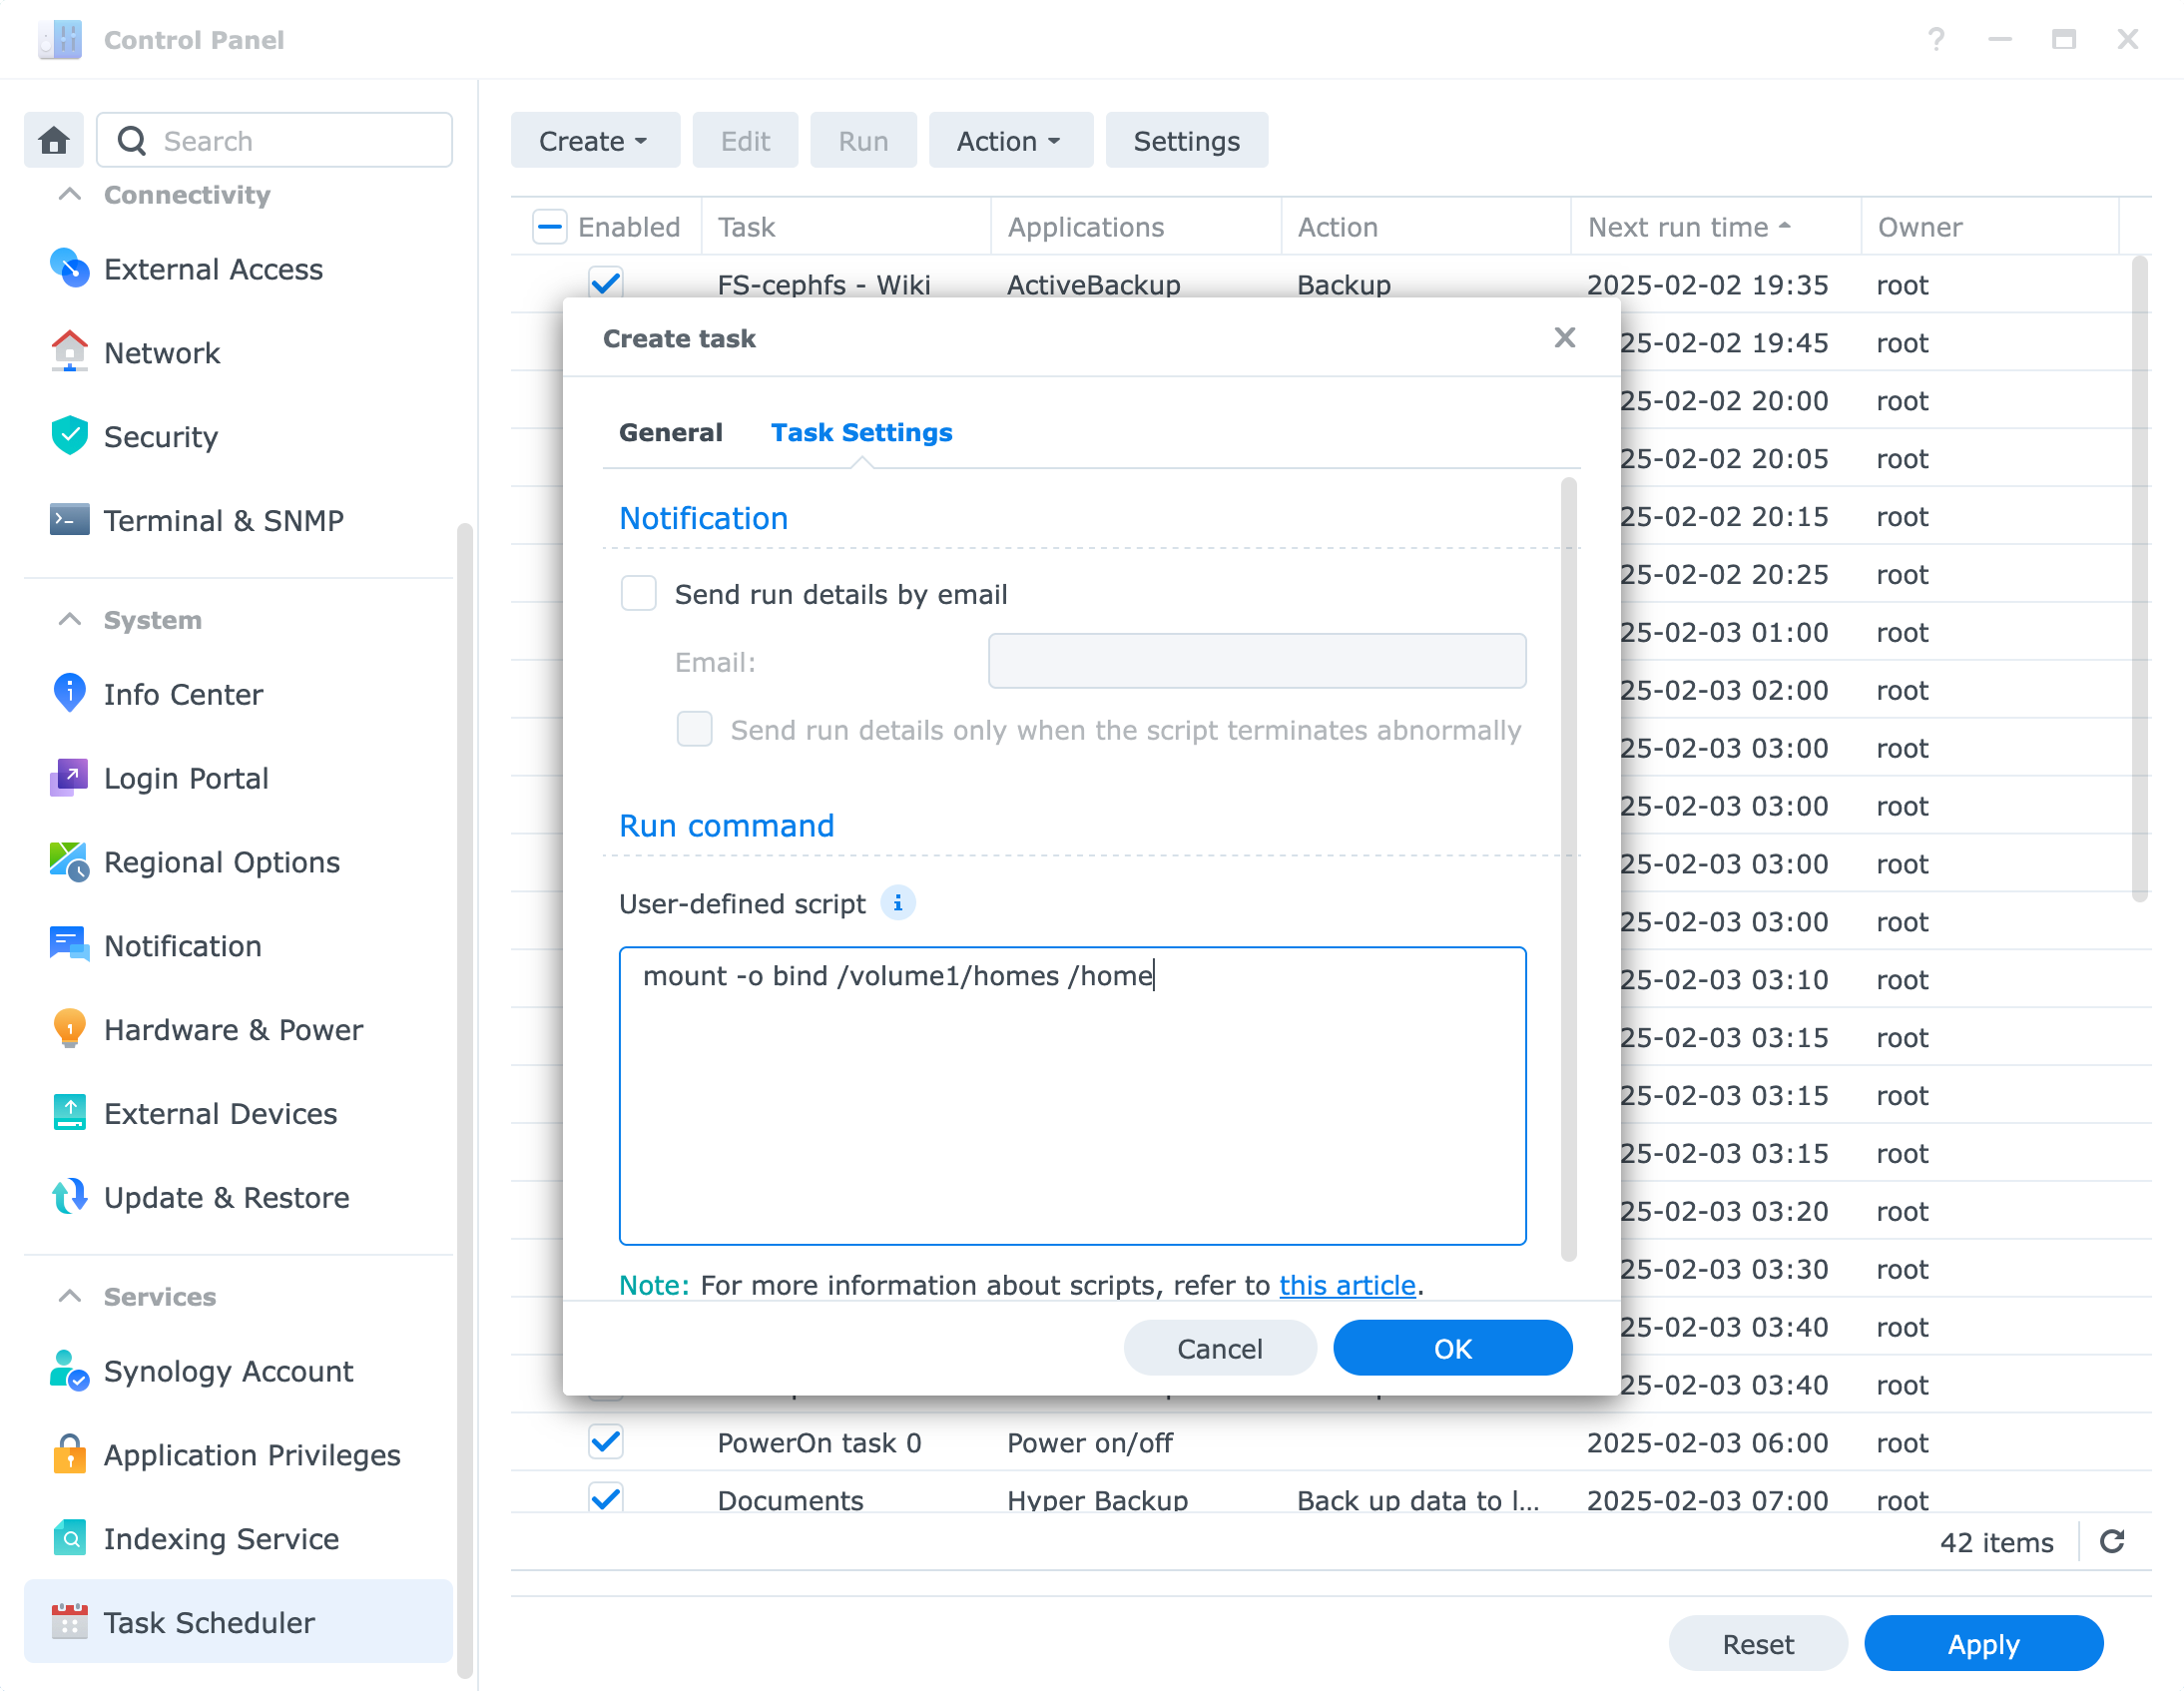
We can also use DSM’s Task Scheduler to enable the mounting of the /home directory.
To do this, log in to DSM, open the Control Panel, and navigate to Task Scheduler. There, select Create → Triggered Task → User-defined script and create the task with the following content:
-
General
- Task: Home mount
- User:
root - Event: Boot-up
- Pre-task: None
-
Task Settings
- User-defined script
mount -o bind /volume1/homes /home
Then click OK and Run the task.

Linuxbrew Directory
If the mount was successful, the /home directory will be available with the same content as /volume1/homes.
You can now create the /home/linuxbrew directory with the following command, which will be where Homebrew and all its formulas are installed.
sudo mkdir -m 755 /home/linuxbrew
Git
Homebrew requires git to be installed. Since DSM does not include the git command by default, we can easily install it by adding the SynoCommunity repository to Synology’s package manager.
To add the repository, simply log in to DSM and open the Package Center.
In Settings, go to the Package Sources tab and add a new source using the Add button:
- Name: SynoCommunity
- Location: https://packages.synocommunity.com/
After clicking the OK button a couple of times, you’ll see the Community section in the sidebar. There, the Git package will be available for installation.

LDD
Homebrew requires glibc >= 2.13[1]. DSM (7.2.2) has a glibc with a supported version. You can check it by running the following command:
/usr/lib/libc.so.6

# GNU C Library (GNU libc) stable release version 2.36.
# Copyright (C) 2022 Free Software Foundation, Inc.
# This is free software; see the source for copying conditions.
# There is NO warranty; not even for MERCHANTABILITY or FITNESS FOR A
# PARTICULAR PURPOSE.
# Compiled by GNU CC version 12.2.0.
# libc ABIs: UNIQUE IFUNC ABSOLUTE
# Minimum supported kernel: 3.2.0
# For bug reporting instructions, please see:
# <https://www.gnu.org/software/libc/bugs.html>.
However, Homebrew only uses the ldd --version command to check the installed version of the glibc library.
Since it doesn’t rely on ldd for anything else, we just need a dummy ldd command that returns a valid version that Homebrew will accept.
To achieve this, we simply create the /usr/bin/ldd file with the following content:
[[ -f /usr/bin/ldd ]] || sudo install -m 755 /dev/stdin /usr/bin/ldd <<EOF
#!/bin/sh
if [[ \$(/usr/lib/libc.so.6 | /bin/grep "GNU C Library") =~ version\ ([^ ]+)\.\$ ]]; then
  GLIBC_VERSION="\${BASH_REMATCH[1]}"
fi
echo "ldd \${GLIBC_VERSION:-2.20}"
EOF
OS Release
Homebrew will look for /etc/os-release to get info about the operating system.
This file is not present in a DSM system, so we need to create it:
[[ -f /etc/os-release ]] || sudo install -m 755 /dev/stdin /etc/os-release <<EOF
#!/bin/bash
echo "PRETTY_NAME=\"\$(source /etc.defaults/VERSION && echo \${os_name} \${productversion}-\${buildnumber} Update \${smallfixnumber})\""
EOF
Installing Homebrew
Now that we’ve met all the requirements to install Homebrew, we can follow the steps documented on brew.sh.
We’ll run the following command:
/bin/bash -c "$(curl -fsSL https://raw.githubusercontent.com/Homebrew/install/HEAD/install.sh)"
That’s it, Homebrew is installed! 🎉
Loading Homebrew
To have the brew command available and all the packages we install with it, we need to add the following content to our ~/.profile file (or ~/.zprofile if we decide to use ZSH).
SHELL_PROFILE_FILE=~/.profile
cat >> "${SHELL_PROFILE_FILE}" <<EOF

# Homebrew Package Manager
eval "\$(/home/linuxbrew/.linuxbrew/bin/brew shellenv)"
EOF
source "${SHELL_PROFILE_FILE}"
With this, we’ll ensure that when we log in via SSH to our NAS, the Homebrew package manager is loaded and all the tools we install with it are available in the PATH.
Now we’re all set to use Homebrew on our NAS! 🚀
Extra: Install Git
The git command installed from the SynoCommunity package may be too old for Homebrew. As a result, each time you run the brew command, you might see a message like this:
Error: Please update your system Git or set HOMEBREW_GIT_PATH to a newer version.
Minimum required version: 2.7.0
Your Git version: ...
Your Git executable:
The easiest way to resolve this issue is to simply install git using brew:
brew install git
This will also install git’s dependencies, but it’s a great way to verify that Homebrew was installed correctly.
This will take a few minutes… ☕️
Now you can enjoy using Homebrew on your Synology NAS! ⭐️